
Raspberry Pi 101: Starting Your First Project
Chosen theme: Raspberry Pi 101: Starting Your First Project. Welcome! Today we kick off your maker journey with friendly, step-by-step guidance, honest tips, and a spark of curiosity. Subscribe, comment with your idea, and let’s build something small, bright, and unforgettable together.
Getting Ready: A Simple Checklist and a Clear Purpose
01
Choosing the Right Raspberry Pi Model
Identify what you truly need: a Raspberry Pi 4 or 5 for performance, or a Zero for size. Consider USB ports, networking, and budget. The official power supply for your model matters more than you think, preventing random crashes and frustrating restarts.
02
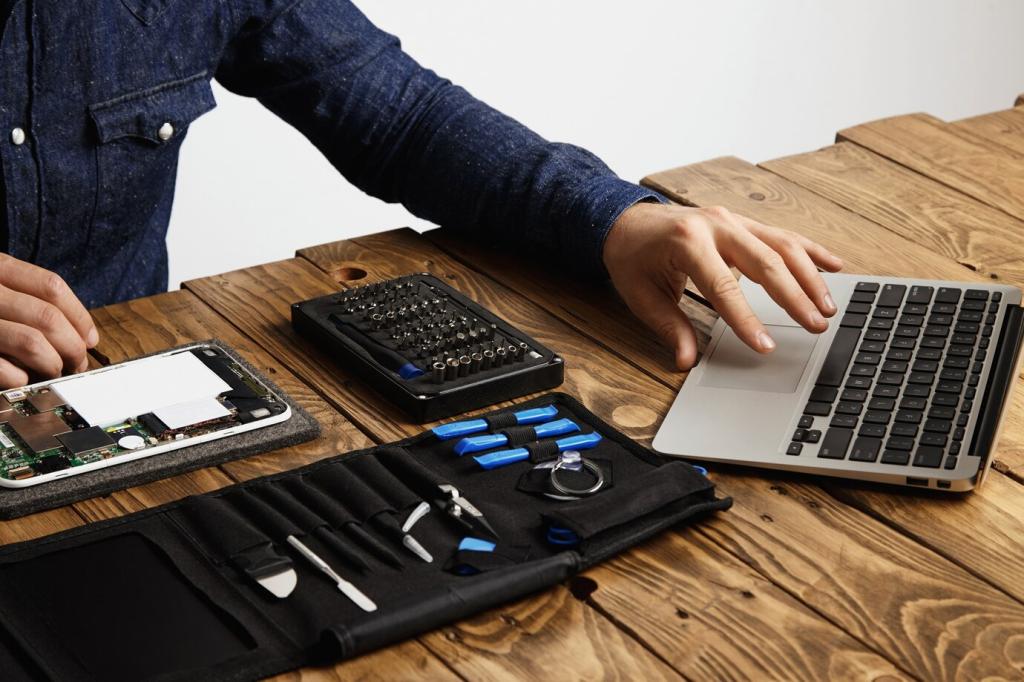
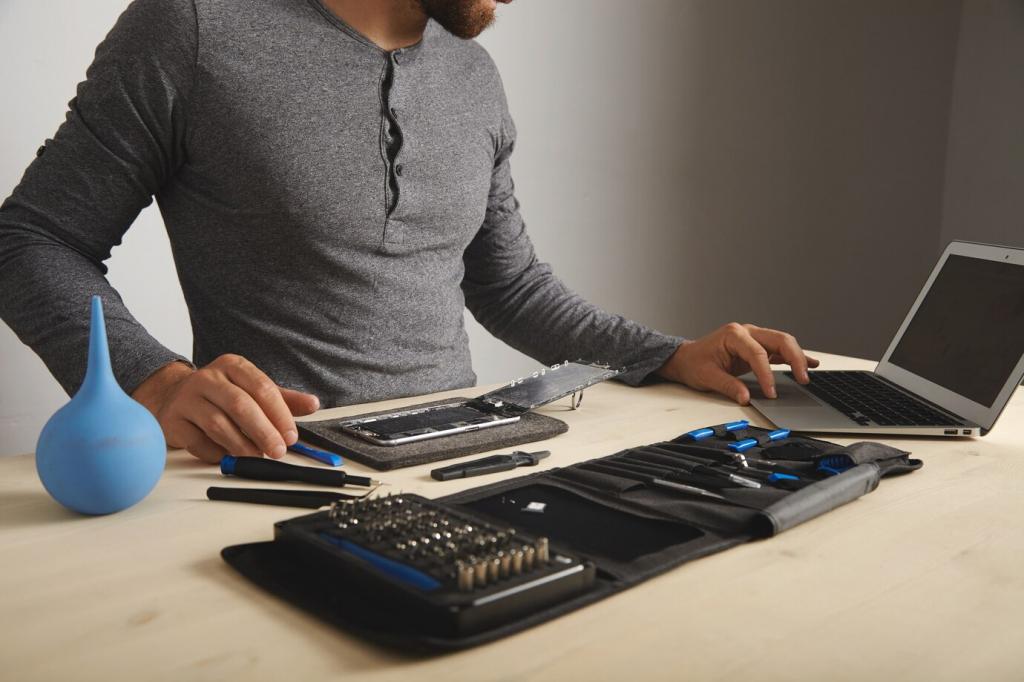
Essential Accessories You Actually Need
Grab a reliable microSD card, a sturdy case, heat management if needed, and a known-good power supply. Add a breadboard, jumper wires, a 220–330 Ω resistor, a single LED, and a button. With these basics, your first project becomes approachable, safe, and fun.
03
Defining a Small, Specific First Win
Pick a goal you can finish today, like a blinking LED or a button-controlled light. Write it down, timebox it, and celebrate the first success. Share your goal with us below—public commitment nudges momentum and helps others cheer you onward.
Download Raspberry Pi Imager, choose Raspberry Pi OS, and select your SD card. Use the advanced settings to preconfigure Wi‑Fi, hostname, SSH, and user credentials. This small step saves cables and nerves, especially when setting up your first project headless.
Install Raspberry Pi OS the Easy Way
Boot your Pi, connect to the internet, and run system updates right away. This ensures drivers, security, and libraries behave predictably. It’s a quiet, essential ritual that prevents weird bugs later while you focus on your first project’s happy glow.
Install Raspberry Pi OS the Easy Way
Safe GPIO Basics: Make an LED Blink
Raspberry Pi GPIO pins speak 3.3V, not 5V. Exceeding 3.3V can damage the board. Learn the difference between physical pin numbers and BCM numbering used in code, and always identify GND first so your wiring habits start safe and reliable.
Write Your First Python Script
Install GPIO Zero and Run a Blink
Install GPIO Zero and open a new Python file. Import LED from gpiozero, create an LED object with the correct BCM pin, and call blink(). Keep the script running until you see rhythm. That flicker is your first project coming alive.
Add a Button and Debounce for Reliability
Wire a button to a suitable GPIO with a resistor or use built-in pull-ups. In code, read the button state and toggle the LED. Implement debouncing to filter noise, then react on press or release. Reliability transforms a demo into a practical, delightful tool.
Structure, Comments, and Error Handling
Wrap logic in functions, add clear comments, and use try/except with a clean exit to release GPIO resources. Good structure makes your first project easy to expand. Share a gist or pastebin link—we’d love to feature clever beginner code in a future post.
Remote Control, Security, and Sharing Your Work
Use SSH for command-line control and scp or SFTP for files. VS Code Remote SSH provides a friendly editor and terminal in one window. This workflow speeds iteration on your first project, making tweaks painless and teaching professional habits early.
Common Pitfalls and Quick Fixes
If the LED won’t blink, suspect power supply quality, incorrect BCM pin numbers, or a flipped LED. Reseat the microSD, reflash if needed, and check logs. Heat and undervoltage cause weird behavior—solve those first. Ask questions below; we respond fast.
A Short Anecdote from the Workbench
A reader once spent an hour debugging code, only to discover the resistor lived where the LED should. One swap, one breath, and the room filled with soft red light. The first blink isn’t just technical—it’s proof that persistence pays.
Next Steps: Sensors, Cameras, and Small Automations
Extend your first project with a temperature sensor, a motion detector, or a camera timelapse. Add logging, charts, or a tiny web dashboard. Comment which path you want next, and we’ll craft tutorials shaped by your curiosity and courage.