Start Here: Easy Raspberry Pi Projects for New Users

Chosen theme: Easy Raspberry Pi Projects for New Users. Welcome to a friendly, practical launchpad where small wins lead to big confidence. When I helped a neighbor’s kid blink a tiny LED, the room lit up twice—once with the diode, and once with a grin. Join in, try a project, and subscribe for more approachable, beginner‑first guidance.

Your First Steps with Raspberry Pi: Smooth, Friendly Setup

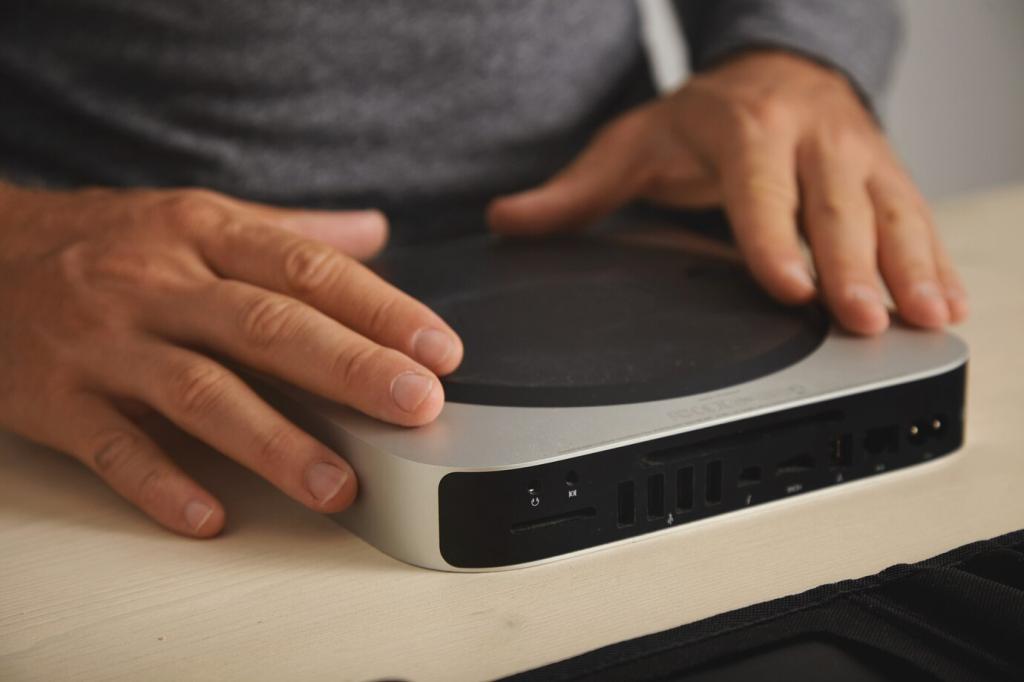
For beginners, Raspberry Pi 4 Model B or the budget-friendly Raspberry Pi 3B+ works wonderfully. Add a reliable 5V 3A power supply, Class 10 microSD card, HDMI cable, and a simple USB keyboard.

Your First Steps with Raspberry Pi: Smooth, Friendly Setup

Use Raspberry Pi Imager for the fastest, friendliest start. Pick Raspberry Pi OS, click the gear to preconfigure Wi‑Fi, SSH, username, and password, then flash a 16–32GB card in just minutes.

Your First Steps with Raspberry Pi: Smooth, Friendly Setup

On first boot, connect Wi‑Fi, complete locale setup, and run updates. Change the default password, enable SSH only if needed, and label cables. Small habits prevent big headaches later, especially for new makers.
What you need and why it matters
You only need a single LED, a 220Ω resistor, a few jumper wires, and a breadboard. This tiny build teaches safe GPIO basics and gives instant gratification with a satisfying first success.
Wire it without fear
Connect Raspberry Pi GPIO 17 to the resistor, then the LED, and finally ground. Respect polarity: the LED’s longer leg is positive. Keep power off while wiring, then double-check every connection before booting.
Make it blink with Python
With the beginner-friendly gpiozero library, a few lines toggle the LED on and off. Add pauses, patterns, even Morse code messages. Share your first blink victory in the comments and inspire another newcomer.

Project 2: Mini Weather Reader with DHT11

Use a DHT11 module with three pins: VCC to 3.3V, GND to ground, and DATA to GPIO 4. Many modules include a built-in resistor, reducing mistakes and making this setup genuinely beginner-friendly.
Install the Adafruit_DHT library, then read values in a loop, handling occasional sensor timeouts gracefully. Print neatly formatted temperature and humidity, and log to a CSV for later charts or classroom demonstrations.
Display results in your terminal or plot a quick line graph with Matplotlib. Compare indoor readings before and after opening a window, then post your findings and photos so newcomers can learn alongside you.

Flash and boot in minutes

Flash LibreELEC with Raspberry Pi Imager, insert the card, and boot. The setup wizard handles language, network, and time. You will be enjoying a smooth Kodi interface surprisingly quickly, even on older boards.

Add media and control it easily

Add media from a USB drive or network share, enable HDMI‑CEC to control with your TV remote, or install the Kore app. Create playful playlists for family nights and ask readers for must‑watch recommendations.

Try friendly add‑ons and get help

Explore beginner‑friendly add‑ons, like weather or free educational channels. If you hit a snag, drop a comment describing your setup. Community tips often fix issues faster than scrolling random forum threads.

Project 4: Retro Fun with RetroPie—Nostalgia, Simplified

Download the RetroPie image for your model, flash it, and boot into EmulationStation. The guided interface reduces confusion, making classic gaming accessible without wrestling with cryptic configuration files or intimidating terminal commands.

Project 4: Retro Fun with RetroPie—Nostalgia, Simplified

Plug in a USB controller or pair Bluetooth, then follow the on‑screen button mapping. Adjust display smoothing and audio as needed. Share which controllers worked best for you to help other beginners choose confidently.

Project 5: Network Clean‑Up with Pi‑hole for Beginners

Pi‑hole blocks ads and trackers at the DNS level, speeding pages and protecting privacy for every device. Beginners love the visible before‑and‑after difference, which builds confidence and sparks curiosity for deeper networking skills.

Project 5: Network Clean‑Up with Pi‑hole for Beginners

Use the official installer from Pi‑hole’s documentation. Accept defaults, set a memorable admin password, and note the web dashboard address. Point your router’s DNS to the Pi and watch network clutter disappear gracefully.

Project 5: Network Clean‑Up with Pi‑hole for Beginners

Open the dashboard, check query logs, and celebrate blocked nuisances. If something breaks, use the whitelist thoughtfully. Share screenshots of your first 24 hours and subscribe for follow‑ups on safe advanced tweaks.
Atemara
Privacy Overview

This website uses cookies so that we can provide you with the best user experience possible. Cookie information is stored in your browser and performs functions such as recognising you when you return to our website and helping our team to understand which sections of the website you find most interesting and useful.